The Pack Place — life in the wolf pack
 Isn't it in our job description to make childhood magical for our babies? Think about your own past- good, bad or just plain average, there must be a few key moments that stand out, softened by a cloud of nostalgia- hazy and happy.
  My fondest childhood memories live just below the surface, bubbling up every time my own children experience something new or exciting. I vaguely remember a day of fishing with my whole family: the uncomfortable heat and the effort expended to catch one fish- just one- and how proud I was to catch it. I remember Disney World- but not the thrilling rides you might expect. It's the bus ride from our wilderness cabin to the theme park that comes to mind- and how my family (parents included!) initiated a scene straight from Glee, encouraging the other passengers to sing a spirited chorus of "zippity doo dah, zippity aye, my oh my what a wonderful day"... I vividly recall a tornado warning, crammed with my siblings into a tiny hall bathroom- snuggled under blankets- hearts racing with fear and excitement... Then there were the lazy afternoons at my great aunt's house, making pralines from scratch and producing plays for neighborhood parents... Little moments helped define my childhood as a happy one.
 It doesn't take much, you see, to create a wonderful memory. Mostly, it's about being together, being silly, creating something or doing something different. No matter how many times each day we may fail as a parent, we can all do this. Your children won't remember every time you lose your cool or forget to pack their lunch. They'll remember a feeling. They'll have a flash of fondness. They'll treat others the way you most often treat them... and hopefully, a few magical moments will implant in their hearts and override everything else. On that note, I stumbled upon this article today and thought you might enjoy it. Now go out and make some sweet memories. XOXO, Sarah
I love the outdoors- the smell of a campfire, roasted marshmallows, breeze in my face... Until the mosquitos. And the sticky heat. And stinging caterpillars. This weekend, I got the best of both worlds. I spent two days watching my little ones fish with their cousins (and even bait their own hooks with real crickets- who are these kids?!?), and then I got to sleep in my warm, clean bed. The boys camped out in real tents with their dad and the girls had a slumber party at home (after eating s'mores, of course). It was the perfect plan! For now, I can use my youngest as an excuse not to sleep in the wild (she's just a baby... the heat... the bugs...). And who knows, as she gets older, I may even learn to enjoy it.
There's no place like home...
I hope you had a great weekend, too!
XOXO, Sarah
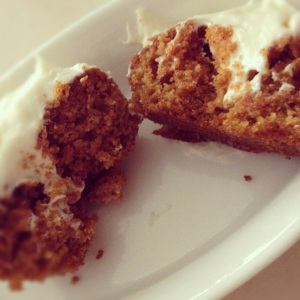
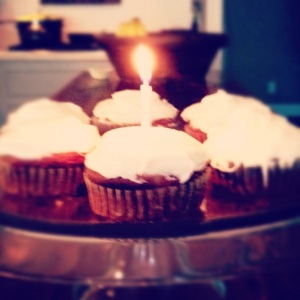 Shannon is an amazing baker. Really. At every family function she is the go-to-girl for dessert. So when she said these carrot cupcakes were scrumptious, I didn't doubt it for a second (well maybe a second- there are actual carrots in there, afterall). Turns out, she was right. To die for. Amazing. DELISH... Try these for a birthday or even better- for Easter! The Bunny will be thrilled with this new take on his old fave. Carrot Cupcakes 2 eggs 1 cup sugar (I split in 1/2--1/2 brown, 1/2 white) 3/4 cup vegetable oil 1 tsp vanilla 1 cup fresh, finely grated carrots OR 1 can of carrots puréed (she has done it both ways and claims both are good... Fresh is best but if in a rush, canned is perfectly acceptable) 1 tsp baking powder 1 tsp baking soda 1 1/2 tsp cinnamon 1 cup plus 2 tbsp cake flour Preheat oven to 350. Mix together the wet ingredients and sugars. When incorporated, add dry ingredients. Mix (with stand or hand mixer) until combined. Pour into lined cupcake trays and bake for 20 minutes (or until toothpick comes out clean). While cupcakes are baking, make frosting. Cream Cheese Frosting 1 stick butter (softened) 1-8 oz bar cream cheese (softened) 16 oz powdered sugar 2 tsp vanilla Whip softened cream cheese with butter. Add vanilla and powdered sugar. Allow cupcakes to cool, then ice and ENJOY!!!
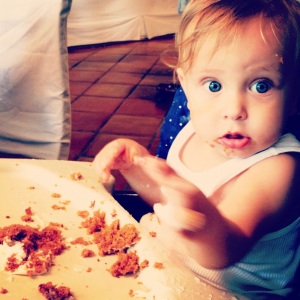
  And here is the delicious little birthday boy, who turned one today and ate these amazing cupcakes for breakfast! I just love a birthday breakfast.
  XOXO, Sarah
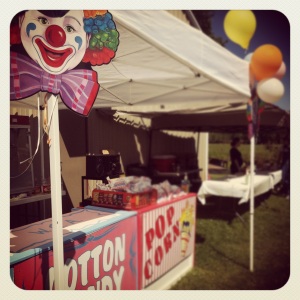
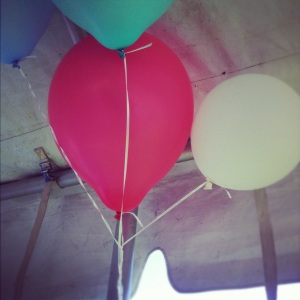 I rarely get a chance to spend one-on-one time with my kids, so when one of them has a school event that is "no siblings allowed", I actually appreciate it... and I know they love it, too. Something about my undivided attention makes them glow. Today, Jack had an "Under the Big Top" celebration and the school really went the extra mile to make the students feel special. Years from now, I imagine their mental images will look something like this:

 Have a wonderful weekend!! XOXO, Sarah P.S. If you have an iPhone and you haven't already downloaded Instagram, you really should! I took all of the photos above with my iPhone and very easily enhanced them with Instagram. I hardly ever pull out my super-duper-heavy-duty-SLR anymore. For everyday moments, my cell is so much more convenient!
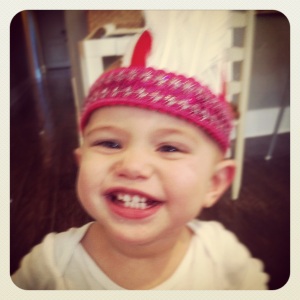
 At our house, there’s no shortage of crowns. We’re drowning in plastic princess crowns, beaded fabric crowns and even glue & paper crowns… So when, for the second time, I found Abe wearing a pink Cinderella tiara (while claiming to be “the king”), I knew the time had arrived for some “boy crowns”. In keeping with the outdoor/summer camp “theme” of their room, I decided to make some Native American inspired headdresses. They were simple and the boys love them!
[caption id="attachment_231" align="alignnone" width="300" caption="Apparently, the girls like them, too!"]
 [/caption]
What you’ll need:
-Felt Fashion black headband (found at Hobby Lobby)
-Aleene’s No-Sew Fabric Glue (or similar)
-Craft feathers
-1 sheet of stiff felt, cut into strips (roughly 3/4″ x 6″)
-Small clips (optional)
-Decorative ribbon (optional)*
How to:
Select the feathers you want to use and lay them out in a pleasing pattern. Open the headband into a circle and place it on the table, with the back side (the elastic) facing you. Take a strip of felt and place it on the inside of the band on what will be the front (the felt will become the “backing” that holds the feathers in place).
Start gluing! Roughly estimate the middle of the headpiece and start there. Place a small drop of glue on the head band and stick the feather to it (it should be standing straight up, and the bottom of the feather shouldn’t stick out past the bottom). Place another small drop of glue on the other side of the feather and stick the felt backing to it. Repeat the same process until all feathers are glued. It can get a little messy, so wipe your hands as necessary! When all of your feathers are placed, glue the ends of the backing to the band and secure with clips. Add more fabric glue as necessary, filling gaps in the felt and backing (the more, the better!). Let it set overnight and enjoy a pow wow in the morning.

 *For the girls I added a shiny sequined ribbon to the front, securing with fabric glue.